

Can you weld cast iron? For many, that question brings a shudder or a quick “no way!” It’s true, this metal is notorious for cracking when heated incorrectly. But here’s the deal: with the right approach, welding cast iron is absolutely possible, especially if you address concerns about post-weld cracking. This guide cuts through the noise and shows you exactly how to do it well.
Here’s what you’ll find inside:
- Why is cast iron a challenging metal.
- Preparing your piece the right way.
- Methods that actually work.
- Pro tips for avoiding cracks.
Dealing with metals that like to fight back? That’s our kind of challenge. If you’re in South Florida and need expert help with a tricky cast iron repair or any custom metal fabrication, Mansilla Architectural Metals is ready to step in.
Why Cast Iron is a Challenging Metal
Welding cast iron isn’t your average job. It requires a different kind of respect because the material itself presents some serious hurdles. Let’s look at what makes it so tricky.
Too Much Carbon Inside
This is the big one, the main reason grey cast iron or white cast iron is so different from steel.
- Cast iron packs a heavy punch of carbon, usually 2% to 4%.
- Steel has way less, which makes it more forgiving.
- When you weld, you heat things up fast, then they cool fast.
- That quick cool-down makes the carbon act weird.
- It can form brittle carbides or separate into flaky graphite.
- Result? The metal right next to your weld gets super hard and fragile. It just wants to crack as it shrinks.
It Hates Sudden Temperature Shifts
Cast iron is just not flexible when it comes to heat.
- Heating a small spot fast creates big temperature differences.
- This causes uneven expansion and contraction.
- Cast iron is rigid; it doesn’t stretch well to handle these stresses.
- Think of it like glass – heat one spot too fast and pop, it breaks.
Hidden Contaminants Are Common
This material can soak up history like a sponge.
- Its structure is porous, full of tiny spaces.
- Over time, these soak up oil, grease, water, paint, you name it.
- When you hit these contaminants with welding heat, they boil and create gas.
- This gas gets trapped, leaving behind holes (porosity) and weak spots in your weld metal. Not good.
“Cast Iron” Isn’t Just One Thing
You can’t treat all cast iron the same way.
- There are different types: gray, ductile, white, and malleable cast iron.
- Each type has a unique microstructure and behaves differently under heat.
- Using the wrong welding rod or technique for the specific type is asking for failure. You’ve got to identify it first.
You’re Fixing Something Already Weak
Often, the piece you’re welding is already starting from a rough spot.
- You’re likely dealing with a pre-existing crack or break.
- The piece might have internal stresses from manufacturing or previous repairs.
- Trying to weld something already compromised adds another layer of difficulty.
Preparing Your Piece the Right Way
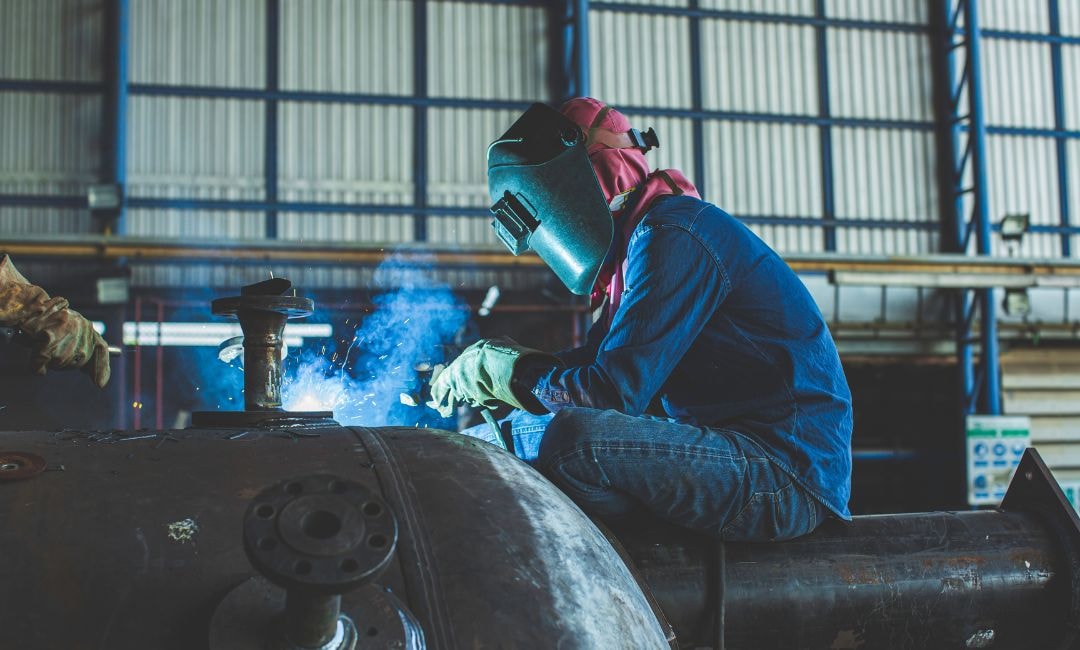
Getting your cast iron ready before welding, particularly considering the carbon content, is just as important as the welding itself. Proper prep tackles many of the issues that cause cracks and weak welds.
Get It Spotlessly Clean
Contaminants lurking in porous cast iron are a major enemy.
- You need to get rid of everything. That means grease, oil, dirt, rust, paint – the whole nine yards.
- Grind or wire brush the weld area thoroughly until you see bright, clean metal.
- For deep-seated gunk, gently heating the area with a torch can help burn it off. Just be careful not to overheat the main piece yet.
Stop Cracks Before They Spread
If you’re repairing a crack, you need to make sure it doesn’t keep running when you add heat.
- Find the very end of the crack. Look closely.
- Drill a small hole, about 1/8 inch or 3mm, right at that endpoint. This “stop-drilling” diffuses stress and helps prevent the crack from extending. It’s a critical step.
Prep the Joint for Welding
Your weld metal needs a good place to land and penetrate properly.
- Grind a groove along the crack or joint. A V or U shape works well, letting you access the full thickness.
- Make sure the groove is wide enough at the surface to maneuver your welding rod.
- Feather the ends of the crack where you drilled the stop hole so the new weld ties in smoothly.
Don’t Skip the Preheating
This step might be the single most important thing you can do to avoid cracking.
- You need to slowly and evenly heat the entire piece, or at least a large area around where you’ll weld.
- This reduces the temperature difference between the weld zone and the rest of the part, minimizing stress.
- The right temperature varies, but think somewhere between 400°F and 1200°F (200°C – 650°C), depending on the type of cast iron and filler metal you use.
- Use temperature crayons or an infrared thermometer to check your heat.
Pro Tip: Heating the whole piece is best if possible. If not, preheat a large zone around the weld area to help manage thermal expansion and contraction.
Methods That Actually Work
Success in welding or repairing cast iron often comes down to picking the right process and sticking to sound technique. It’s not just melting; it’s about finesse.
| Method | Filler You’ll Use | How Hot It Gets | Chance of Cracking | Good Jobs For This Method |
|---|---|---|---|---|
| Stick Welding (SMAW) | Nickel Rods (ENi-CI, ENiFe-CI) | High | High (Peen is Key!) | General repairs, thicker castings, where portability is useful |
| TIG Welding (GTAW) | Nickel or Cast Iron Rods | Medium-High | Medium-High | Thin pieces, precise work, when you need control |
| Oxy-Acetylene Welding | Cast Iron Rod + Special Flux | Really High (Broad) | Medium-High | Old-school repairs, slower but broad heat |
| Brazing | Bronze or Brass Rod + Flux | Low | Low (Better!) | Most repairs (non-structural), putting less stress on the cast iron |
Stick Welding (SMAW)
This is a common go-to because stick welders are widely available. You absolutely need the correct electrode.
- Filler Rods: Your best friends here are nickel-based rods. ENi-CI (think 99% nickel) or ENiFe-CI (around 55% nickel, 45% iron) are standard. Nickel deposits are softer and more ductile, flexing a bit as the weld cools, which fights cracking.
- Machine Setup: DC (Direct Current) reverse polarity (DCEP) usually works well for penetration, but check your specific rod’s recommendation. Keep the amperage on the lower side to minimize heat input.
- Steps for Stick Welding:
- Confirm your piece is preheated correctly (you did the prep!).
- Lay very short beads – think 1 to 3 inches max.
- Use a “skip welding” technique. Weld a short bead here, then skip to a different spot on the joint and weld another. This prevents heat from building up too much in one area.
- Immediately after finishing a bead, lightly peen it with a ball-peen hammer. This stretches the hot metal and relieves cooling stress. Do not skip this step.
- Let the weld cool super slowly. Cover the piece or bury it in sand or vermiculite.
Peening is non-negotiable with stick welding cast iron. It’s a simple action that makes a huge difference in preventing cracks.
TIG Welding (GTAW)
TIG offers excellent control over the heat, making it suitable for more precise cast iron repairs or thinner sections.
- Filler Rods: Again, nickel-based TIG filler rods work well. You can also find specific cast iron TIG rods. Some folks use steel filler with flux, but that’s more advanced.
- Machine Setup: Use DCEN (Direct Current Electrode Negative). If your machine has a pulse feature, using it can help manage heat input even better. Pure argon is your shielding gas.
- Steps for TIG Welding:
- Preheat the piece as needed.
- Use a small tungsten and keep your arc tight and focused.
- Add filler metal to the leading edge of the weld puddle as you move along.
- Weld in short segments, just like with stick welding. Skip around the joint to control heat.
- Light peening can still be helpful after TIG welding, though often less critical than with stick.
- Slow cooling is still a must.
Oxy-Acetylene Welding
This older method involves slower, broader heating, which can sometimes be beneficial for stress control, but it’s less common now for general repairs compared to arc methods.
- Filler Rods: Requires specific cast iron filler rods and flux.
- Setup: Use a neutral flame setting on your torch.
- Steps for Oxy-Acetylene Welding:
- Preheat the piece to a higher temperature than for arc welding, often aiming for a dull red glow (around 1100-1200°F).
- Apply flux generously to the joint and the filler rod.
- Melt the base metal and the filler rod together with the torch flame.
- Work in sections, ensuring good fusion and covering the area with molten flux to shield it.
- Ensure extremely slow cooling afterwards.
Brazing (Often Your Best Repair Bet)
While not welding (you don’t melt the cast iron base metal), brazing is frequently the smartest way to repair cast iron, especially if the part isn’t safety-critical.
- Filler Rods: You’ll use bronze or brass filler rods, usually with a separate flux or flux-coated rods.
- Setup: An oxy-acetylene torch is typical, but TIG can be set up for brazing, too.
- Steps for Brazing:
- Prepare the joint (clean and groove) just like for welding, but preheat to a lower temperature – only hot enough to melt the filler rod (around 800-1000°F). The cast iron itself stays solid.
- Heat the joint evenly until the base metal is hot enough to melt the filler rod when you touch it to the surface.
- The filler metal will flow into the joint via capillary action, creating a strong bond.
- Build up the repair using the filler rod.
- You guessed it: ensure extremely slow cooling.
Brazing is often far easier and less likely to cause cracking than fusion welding on cast steel or iron because you avoid the high heat needed to melt the base metal. Consider it first for repairs.
Pro Tips for Avoiding Cracks
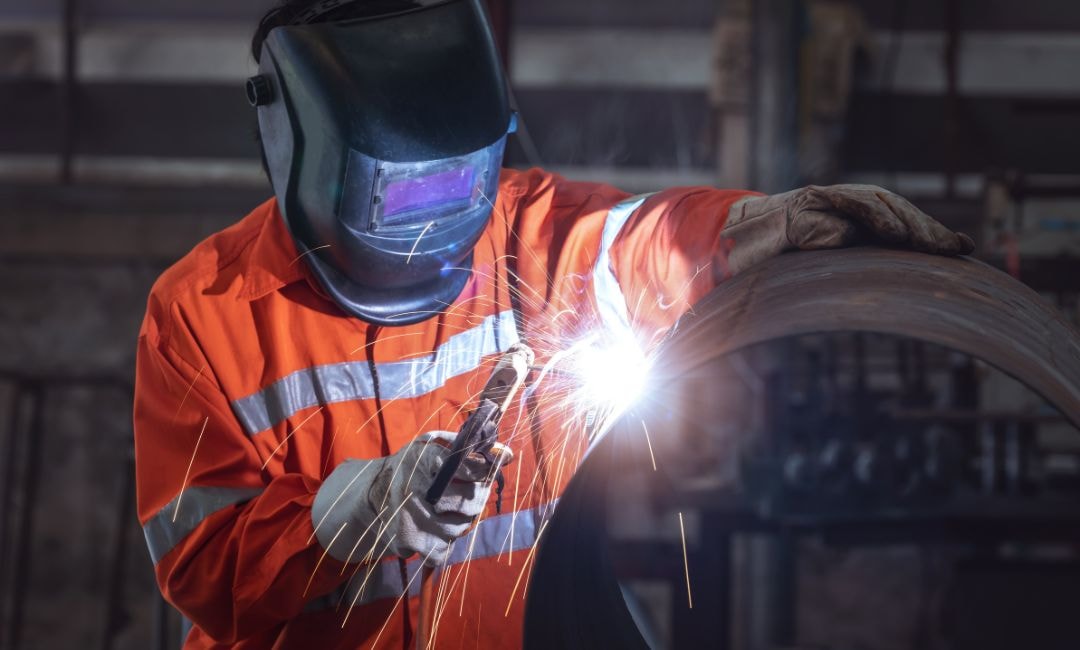
Avoiding cracks when welding cast iron, especially with proper post heat techniques, is your main goal. Pay close attention to these points, and you’ll dramatically increase your chances of success.
- Cleanliness is Next to Weldliness: Seriously, go back and double-check that joint. It needs to be spotless. Any leftover grease, oil, rust, or paint is just asking for bubbles and weak points that can lead to cracks later on.
- Preheat Like It’s Your Job: We’ve said it a few times because it’s that important. Get that entire piece, or a large zone around your weld, up to the correct temperature slowly and evenly before you start. This is your absolute biggest defense against thermal shock and cooling stress.
- Use the Right Filler Material: Those nickel-based stick electrodes (like ENi-CI) or the bronze/brass rods for brazing are designed specifically to be more ductile or use lower heat, making them much more forgiving with cast malleable iron. Don’t try to get by with standard steel filler.
- Keep Your Welds Short and Segmented: Lay down only short beads, typically 1 to 3 inches maximum. Use the “skip welding” method to jump around the joint, letting areas cool slightly before you come back. This avoids concentrating heat in one spot.
- Peen Those Beads Immediately: If you’re using stick welding, grab a ball-peen hammer and lightly tap the hot weld bead right after you finish laying it. This stretches the metal and relieves cooling stresses. It sounds simple, but it’s incredibly effective.
- Cool Down S.L.O.W.L.Y.: Your job isn’t done when the arc stops. How the piece cools is just as critical as the preheat. Cover it with a welding blanket, bury it in dry sand, or place it in a temperature-controlled oven that you turn off to cool gradually. Avoid drafts or fast cooling at all costs.
- Seriously Consider Brazing: For many common repairs, especially on non-structural or older cast iron parts, brazing is a much lower-stress process because you don’t melt the base metal. The lower heat significantly reduces the risk of cracking.
- Don’t Over-Weld: Only deposit the amount of weld metal necessary to make the repair strong. Making excessive passes adds more heat and stress to the piece, increasing the likelihood of cracks.
Mastering cast iron welding takes practice, patience, and sometimes, specialized equipment or knowledge. If you have a critical repair, a large or complex cast iron piece, or just prefer to leave it to the pros, getting expert help is a smart move.
Cast Iron Repair? Get Expert Help at Mansilla Architectural Metals
Welding cast iron is tough, but definitely possible with the right steps. It takes careful prep, picking the right method, and having patience to avoid those dreaded cracks. Keep these key takeaways in mind for your next cast iron project.
Here’s what to remember:
- Cast iron’s high carbon forms brittle iron carbide near the weld’s heat-affected zone, causing easy cracking.
- Prepping your cast iron items properly – cleaning, stop-drilling, and grooving – is absolutely crucial before you start.
- Always use a careful pre-heat and cool super slowly. This manages stress and is key to success.
- Forget welding steel onto cast iron; use the correct welding rods that lay down a malleable weld deposit that handles stress better, even on ductile iron.
- Use short, skip welds and always peen stick welds immediately. This helps the metal handle cooling stress.
Taking on cast iron can be really challenging, even with these tips in hand. If your piece is valuable, complex, or you just prefer to trust an expert with difficult metal repairs like this, our team at Mansilla Architectural Metals is here to help you get it done right in South Florida.
Cast iron can be a real challenge, even with solid tips. For valuable or complex pieces, or if you need expert help with difficult metal repairs, Mansilla Architectural Metals is ready in South Florida. Call us today to discuss your project:954-716-2538.
FAQs
What happens if you weld cast iron?
If you don’t prepare and weld correctly, cast iron almost certainly cracks. The intense heat and quick cooling create stress that the brittle metal can’t handle. However, with the right techniques like preheating and slow cooling, especially for ductile cast iron, you can make strong, lasting welds.
What is the best way to weld cast iron?
There’s no single “best” way for every job, but Stick welding (SMAW) with nickel rods or TIG welding (GTAW) are popular methods. The most crucial factors for success across any method are proper preheating and letting the piece cool down extremely slowly afterward.
What is the best way to repair cast iron?
Often, the “best” repair isn’t fusion welding, particularly when working with grey iron. Brazing is frequently preferred because it uses much lower temperatures, drastically reducing the risk of cracking the surrounding cast iron. For complex parts or critical repairs, consulting a professional metalworking service is usually the safest route.
Can you weld cast iron with a MIG welder?
MIG welding cast iron is generally tricky and isn’t recommended, especially if you’re not highly experienced with ferro nickel rods. MIG is a higher-heat process that makes it harder to control stress and avoid cracks in this sensitive material compared to stick or TIG with the right filler.
